Oh dear, what a year. The last 365 days have likely been the most challenging, tricky, sleepless, and intense I’ve ever experienced. I’m not joking – no exaggeration. Yet, at the same time, it has been the most emotionally fulfilling, joyful, and happy period of my life.
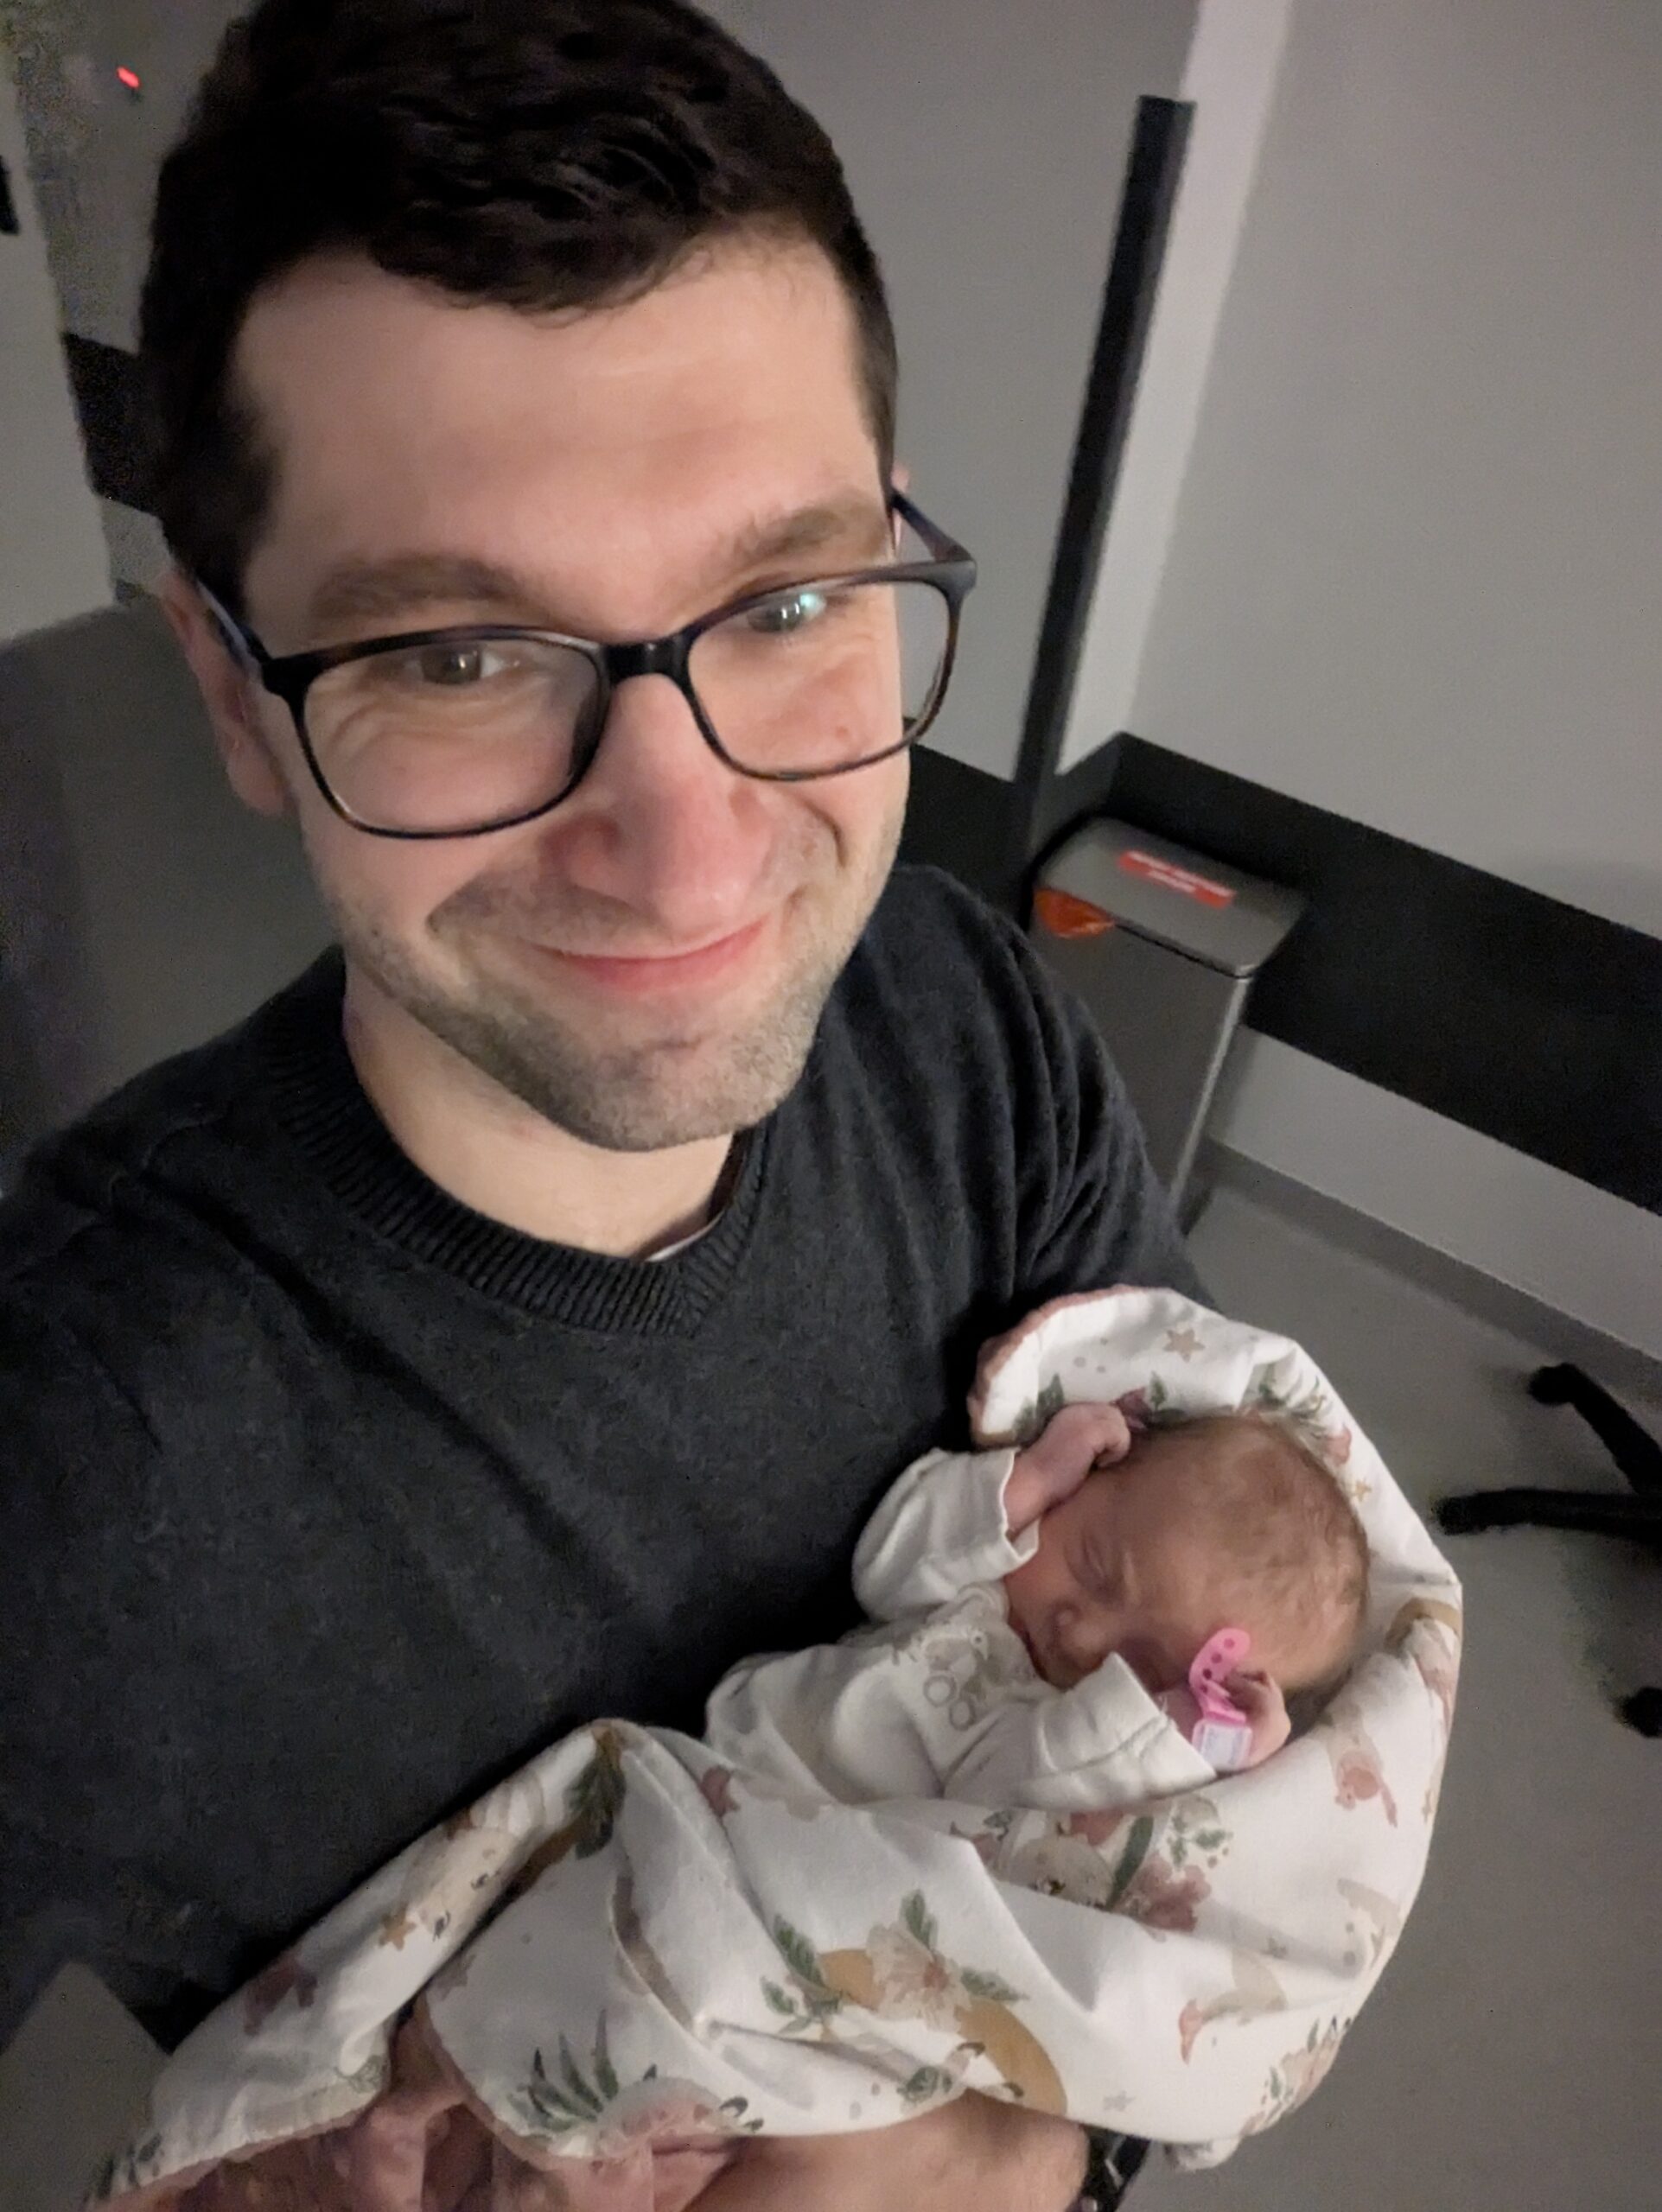
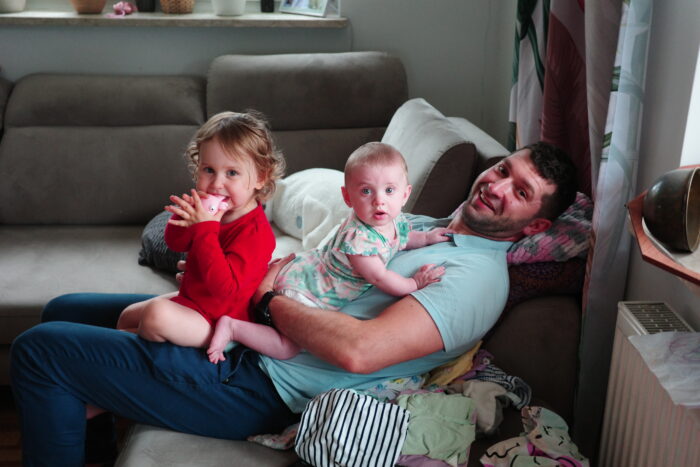
The reason for both ends of that emotional spectrum is the birth of my second daughter back in January. Shortly after she arrived, it became crystal clear that parenthood has an O(n2) complexity in both time and space; however, it also yields n1000 in satisfaction.
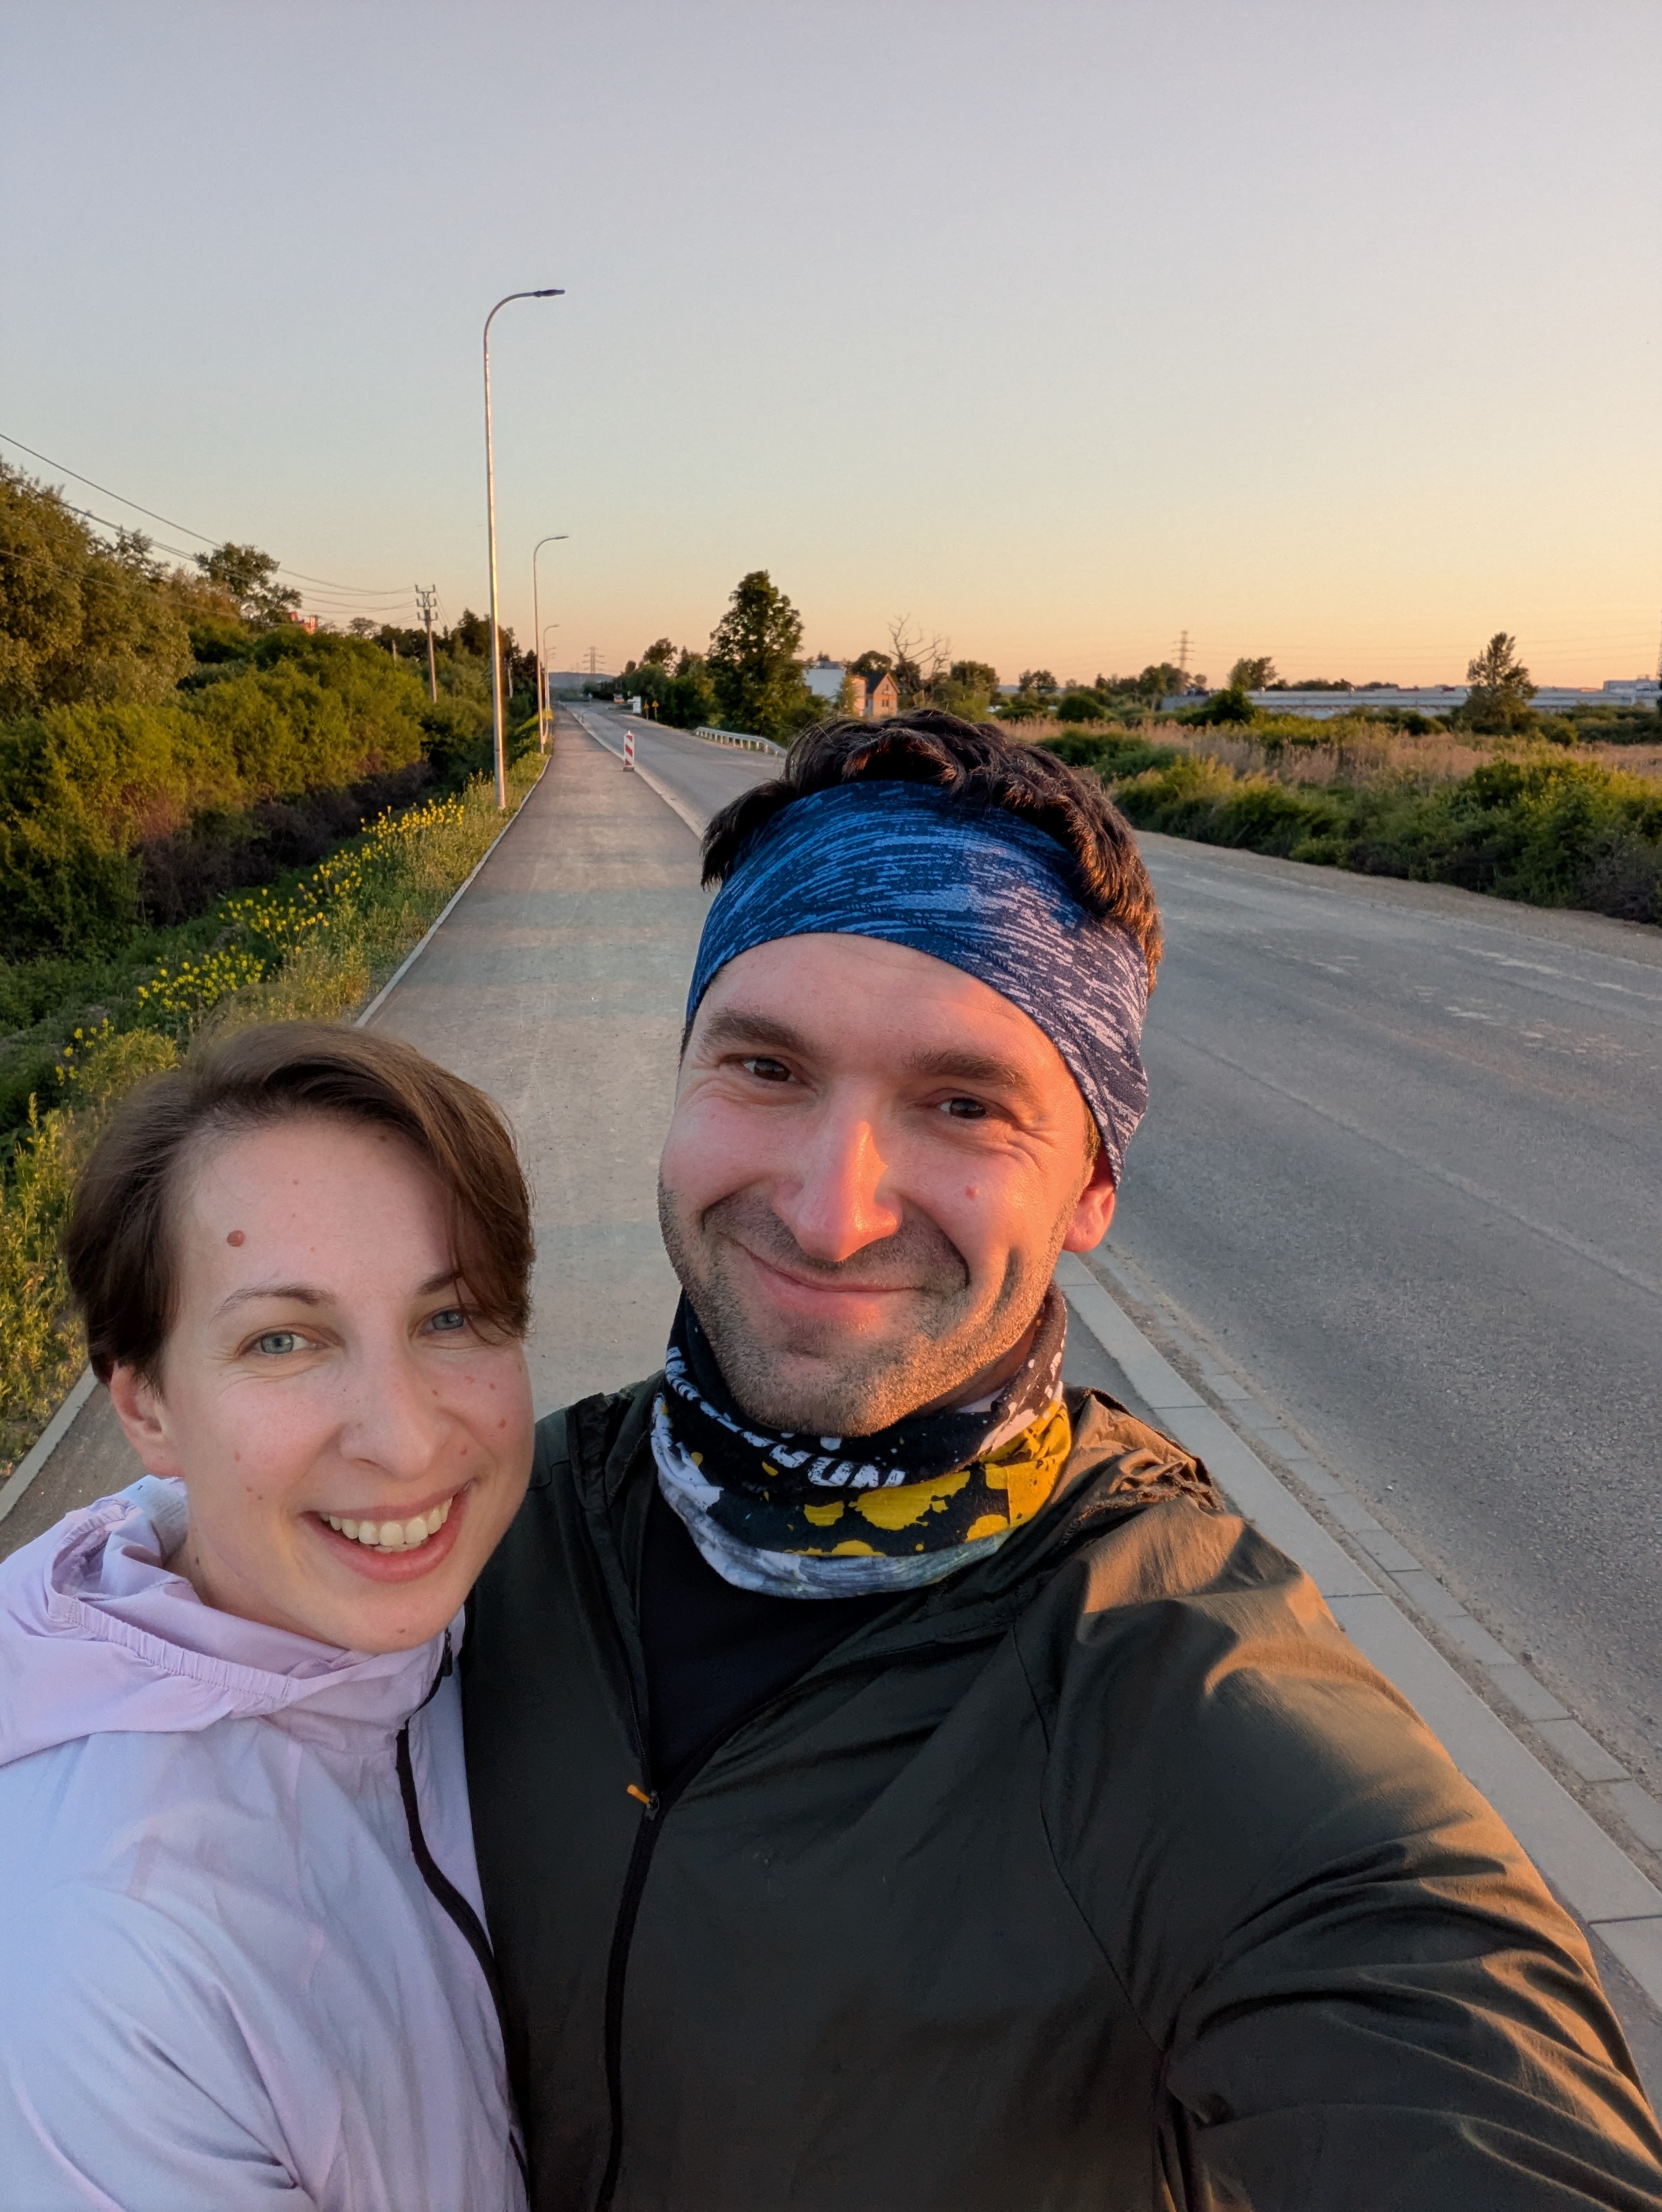
Beyond parenting, this year brought a different kind of fulfillment: I was finally reunited with friends and relatives I had been waiting to see for so long. I even crossed paths with acquaintances in the most unexpected places, which was a wonderful surprise. However, it wasn’t all simple – this year also brought a few turning points in long-standing friendships, shifting my perspective on relationships I’ve had for many, many years.
In other areas, this year was decent at best (career-wise) or even a case of ‘good riddance’ (regarding the Russian invasion of Ukraine and other global threats). Nevertheless, 2025 will live in my memory as the sound of my daughters’ laughter and the smell of dirty diapers.
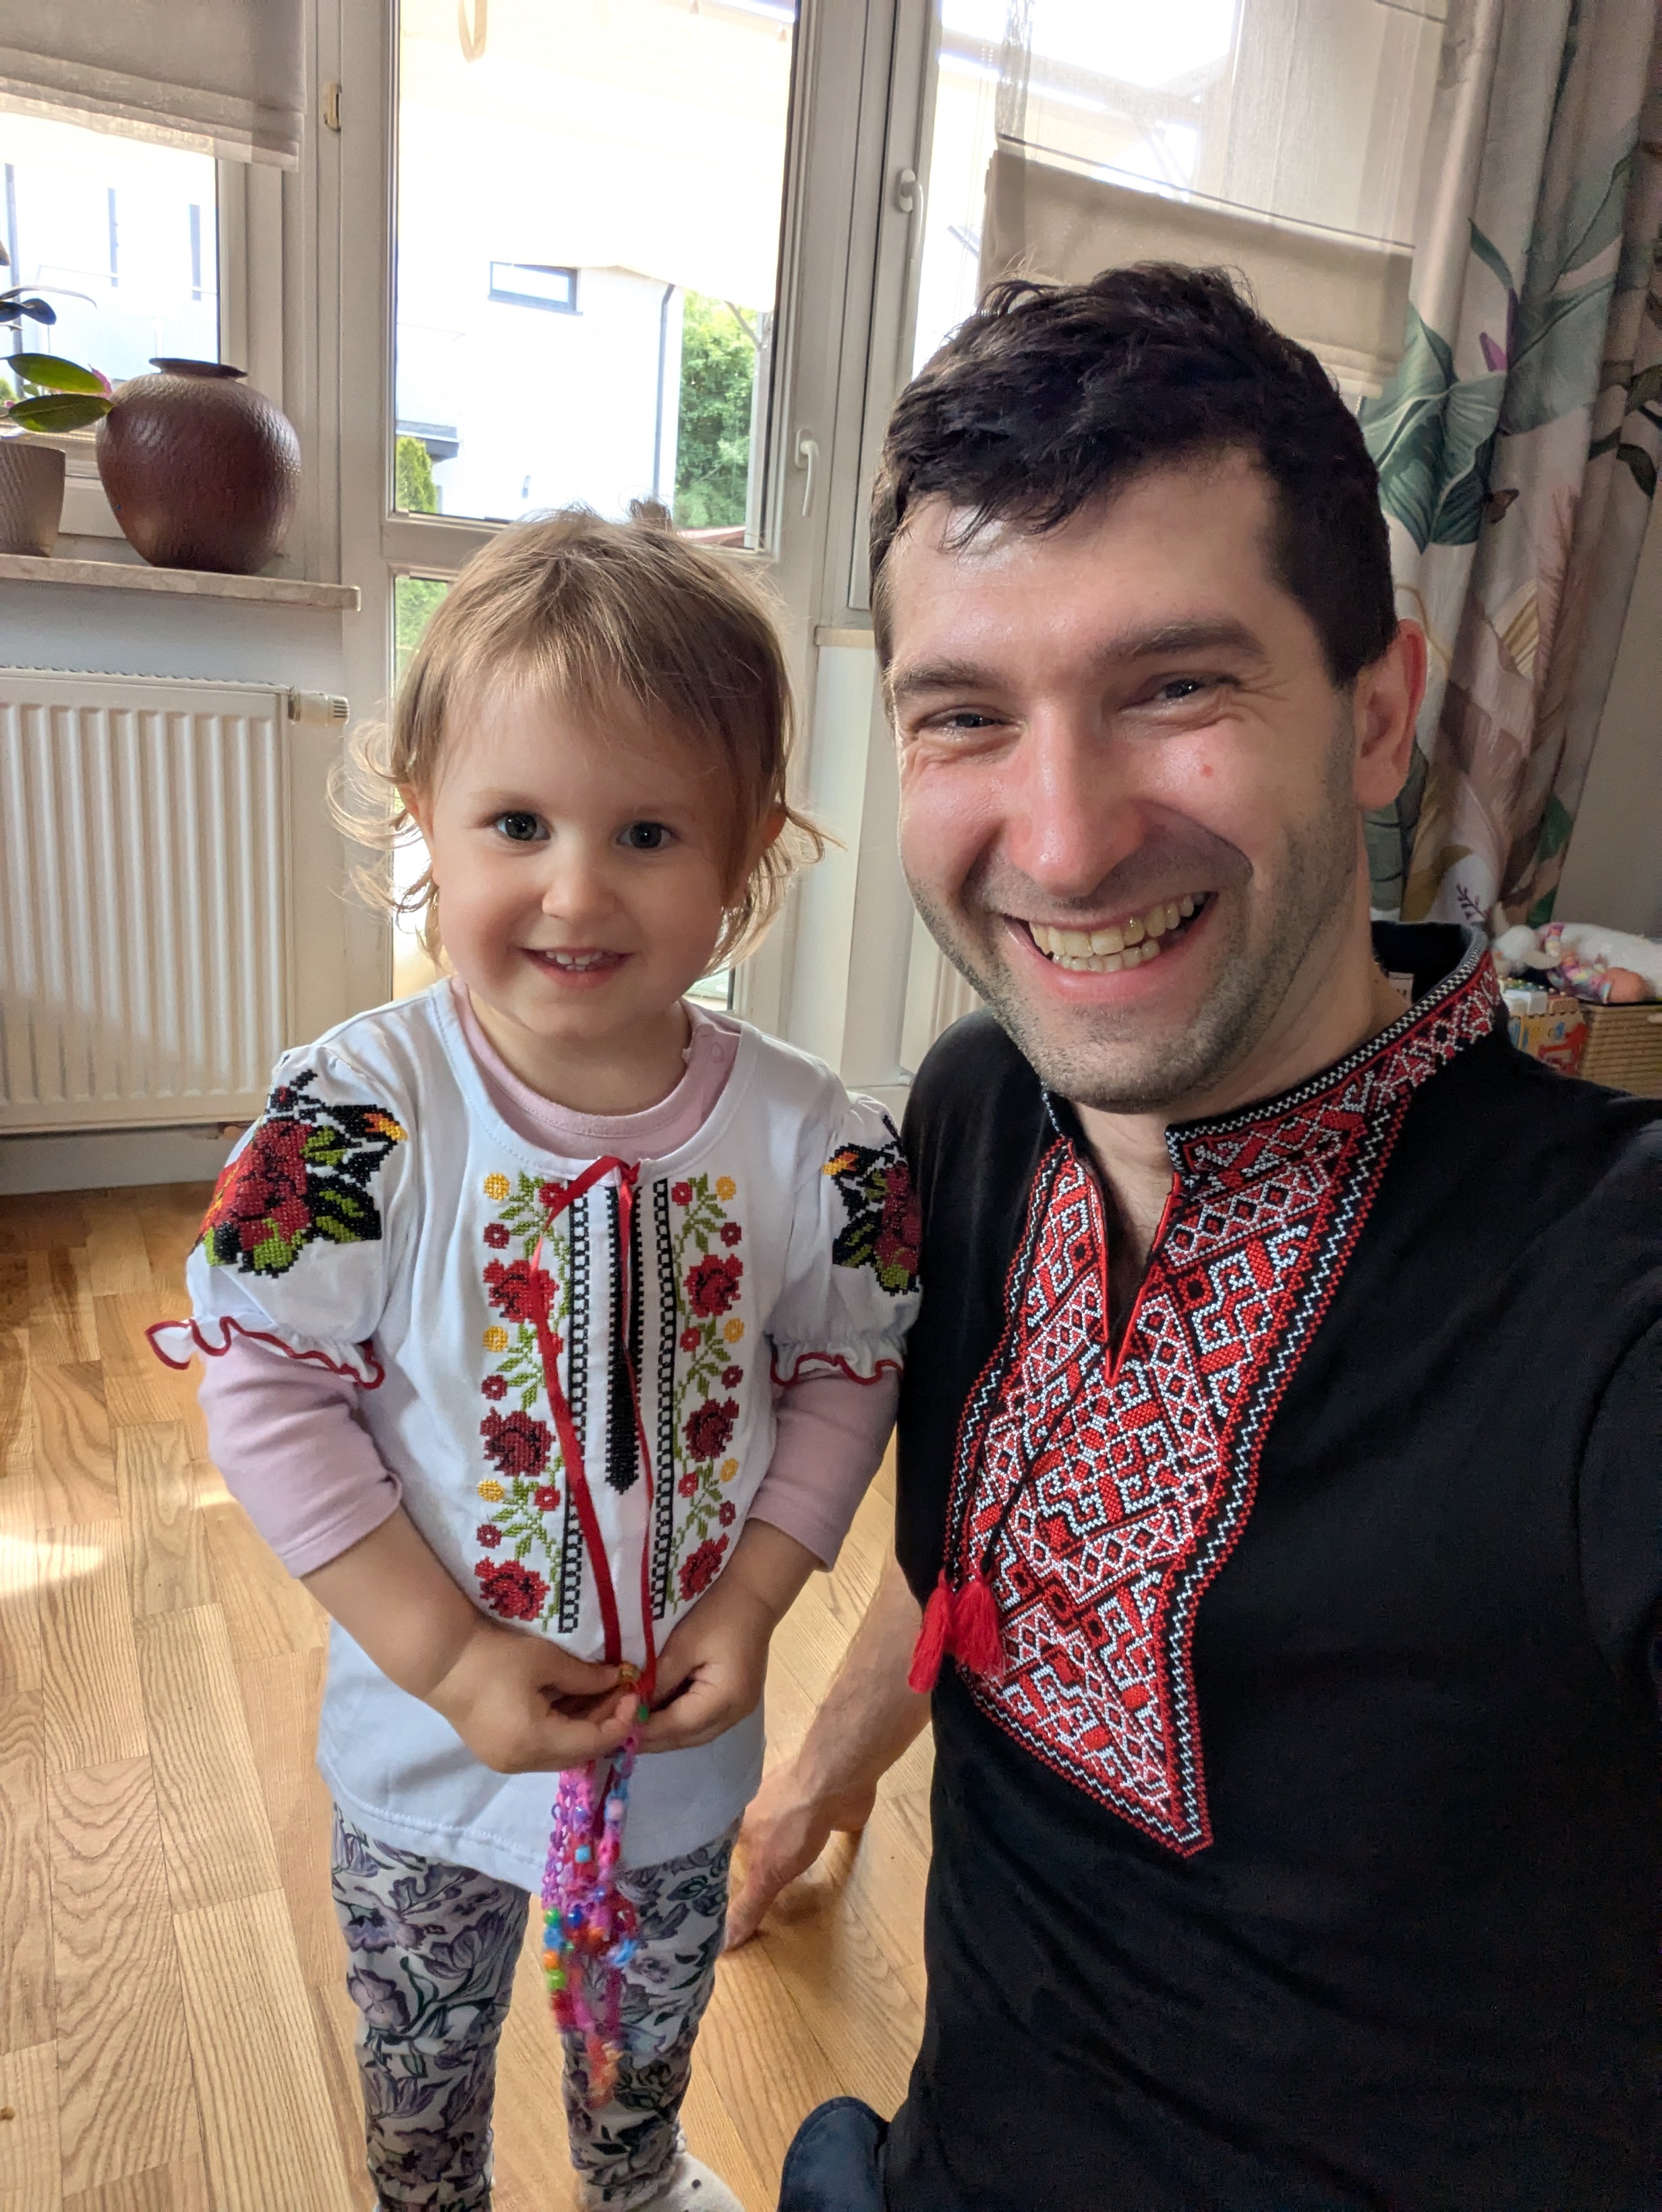
As I mentioned, this year was not a good one for Ukraine. Russia has not abandoned its plans to occupy territory and harm civilians, and despite the media noise, there are no signs of this changing in the foreseeable future. Every day, courageous Ukrainian defenders hold a frontline spanning over 1,000 kilometers. I urge you to support Ukraine’s fight for its people and freedom. You can find a list of major Ukrainian foundations at supportforukraine.pl. Every contribution, no matter how small, makes a difference.
2025’s plans progress
Health
Professional & Personal Development
Family
Leisure
Miscellaneous
Learning from 2025
My biggest finding this year is that consistency beats perfection, every single time. Becoming a parent has been the ultimate reality check for me; it taught me that life is unpredictable and plans can change in a heartbeat. When you’re dealing with a sick kid or a sleepless night, “perfect” is simply off the table. But I’ve learned that you shouldn’t allow perfection to kill your momentum.
Even when things go sideways, I stick to the “Two-Day Rule”: I might miss one day because of the chaos, but I never miss two days in a row (maybe just during the vacation time 😉 ) . This approach has been my anchor through the uncertainty of parenthood. It’s not about doing it perfectly; it’s about showing up whenever you can to keep the wheels turning. That steady rhythm is what actually helps you cope when life gets messy.
Sum-up
- 52% (12/23) – Fully completed targets
- 22% (5/23) – Progressed well, but not completed
- 26% (6/23) – Have not been started or progress is negligible
At first look, 52% might not seem impressive, but I’m proud it’s that high considering everything going on. Next year looks just as challenging, so I’m sticking with a 60% completion target for 2026 and a 75% progress level to mark something as ‘done’.
Plans for 2025
Health
- Do 48 workout (or other non-running activity) sessions (~1 per week)
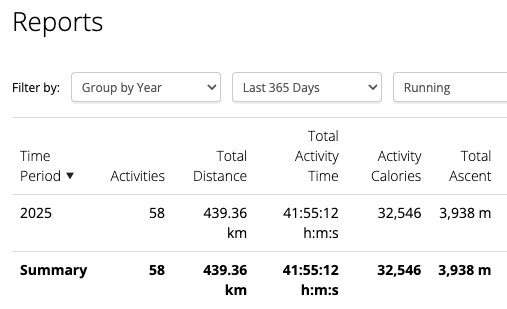
- Run at least 48 runs with a minimum of 300km distance
- Finish marathon distance under 4h
- “No screens 30 minutes before bed” habit (at least 180/365 days)
Professional & Personal Development
- Complete leadership/managerial workshop (preferably not online)
- Finish Neet Code 150 list
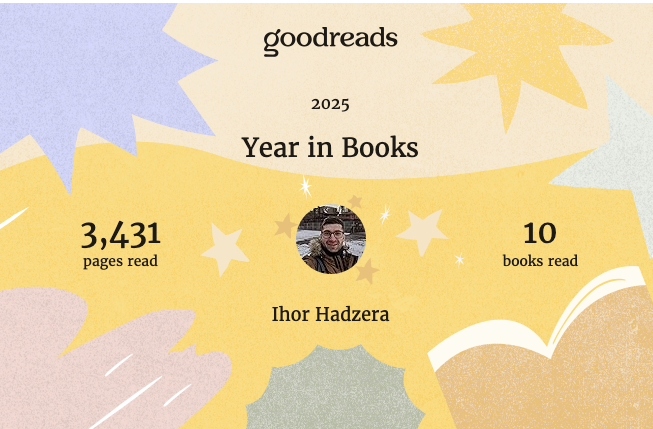
- Read at least 10 books and write a review of at least one of them
- Visit at least one tech conference
- Adopt an effective note-taking approach, by at least 48 activities through the year
- Receive tech-related certificate (where exam is required)
- Improve confidence in a public speech. Start attending classes, and/or find a coach, and/or find a speaking club (e.g. ToastMasters)
Family
- Spend quality ‘Daddy time’ at least once a week with each of my daughters, engaging in a shared activity or meaningful connection (aiming for ~100 sessions in total)
- Find an opportunity for a date night with my wife at least fortnightly-keeping the spark alive with some dedicated ‘us’ time. 😉
- Do at least 1 family camping
- Do at least 1 family hiking
Leisure
- Extend reading routine to 300 active reading days
- Visit new country
- Do at least one “adrenaline rush activity”
- Attend at least one concert/sport event
- Add new board to my collection and have at least 5 “board game” nights
Miscellaneous
- Limit daily phone screen time to 1 hour (excluding baby monitor usage)
- Make at least 12 contributions to nonprofit organizations (~ 1 per month)
- Donate at least 1.5 liters of blood (3 times) and receive an Honored Blood Donor (stage 2) status
- Limit time spent on social media (including YouTube) to 1 hour daily
Final thoughts
A lot happened in the world this year. Some things were difficult to watch, like the news about global conflicts, and some were exciting, like the boom of the AI everywhere. Most of the time, we cannot control these big events. However, we can control our “small world” – how we treat others, the habits we build, and the values we live by. By doing what is right in our own lives, we help make the world a better place.
My biggest wish for 2026 is for the russian invasion of Ukraine to finally end. This war has brought so much pain, and I hope for a future where peace returns. On a personal level, I truly hope the situation improves so that it becomes possible to travel and meet my relatives in Ukraine again. Nothing is more important than being with family.
As I head into 2026, I feel hopeful. This year taught me that even if I don’t finish every goal, the important thing is to keep trying. I hope that the next year brings you health, growth, and many happy moments with the people you love.
Wishing you all the best in 2026!
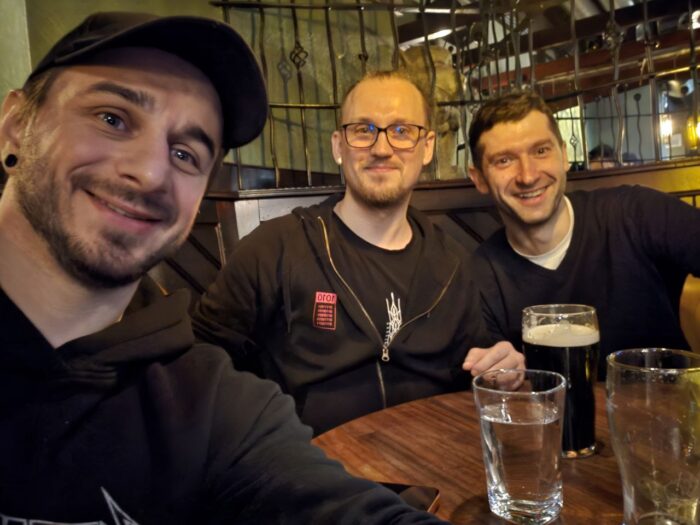
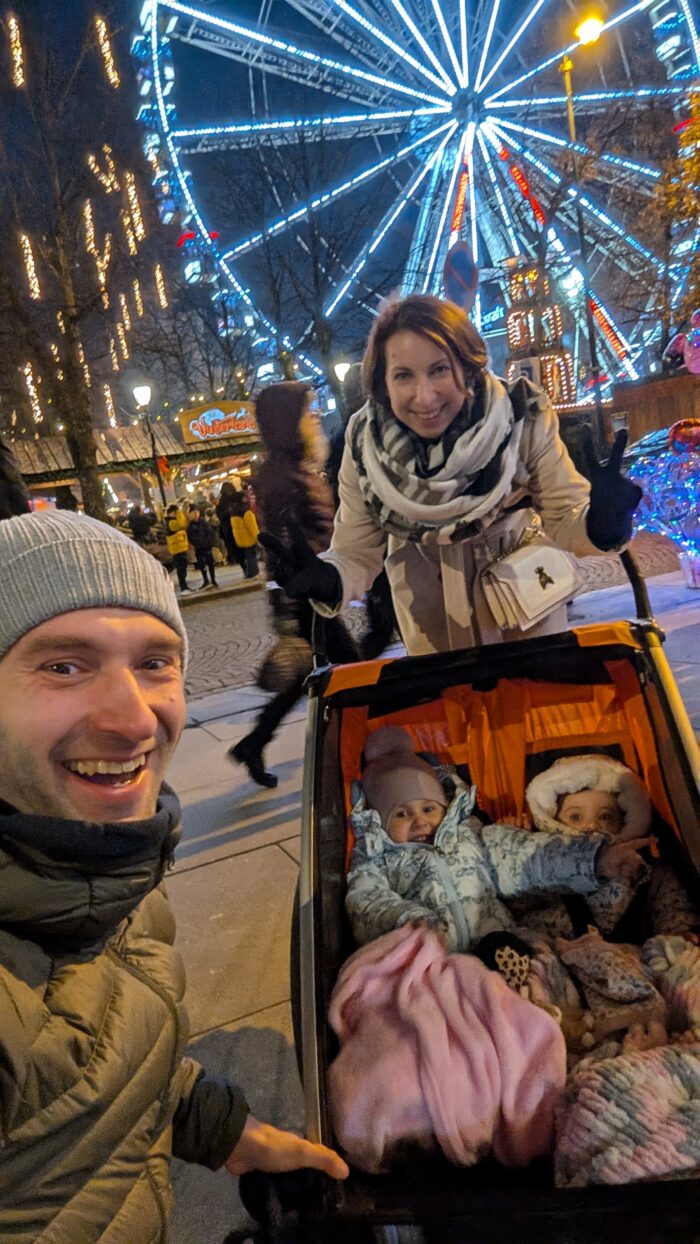
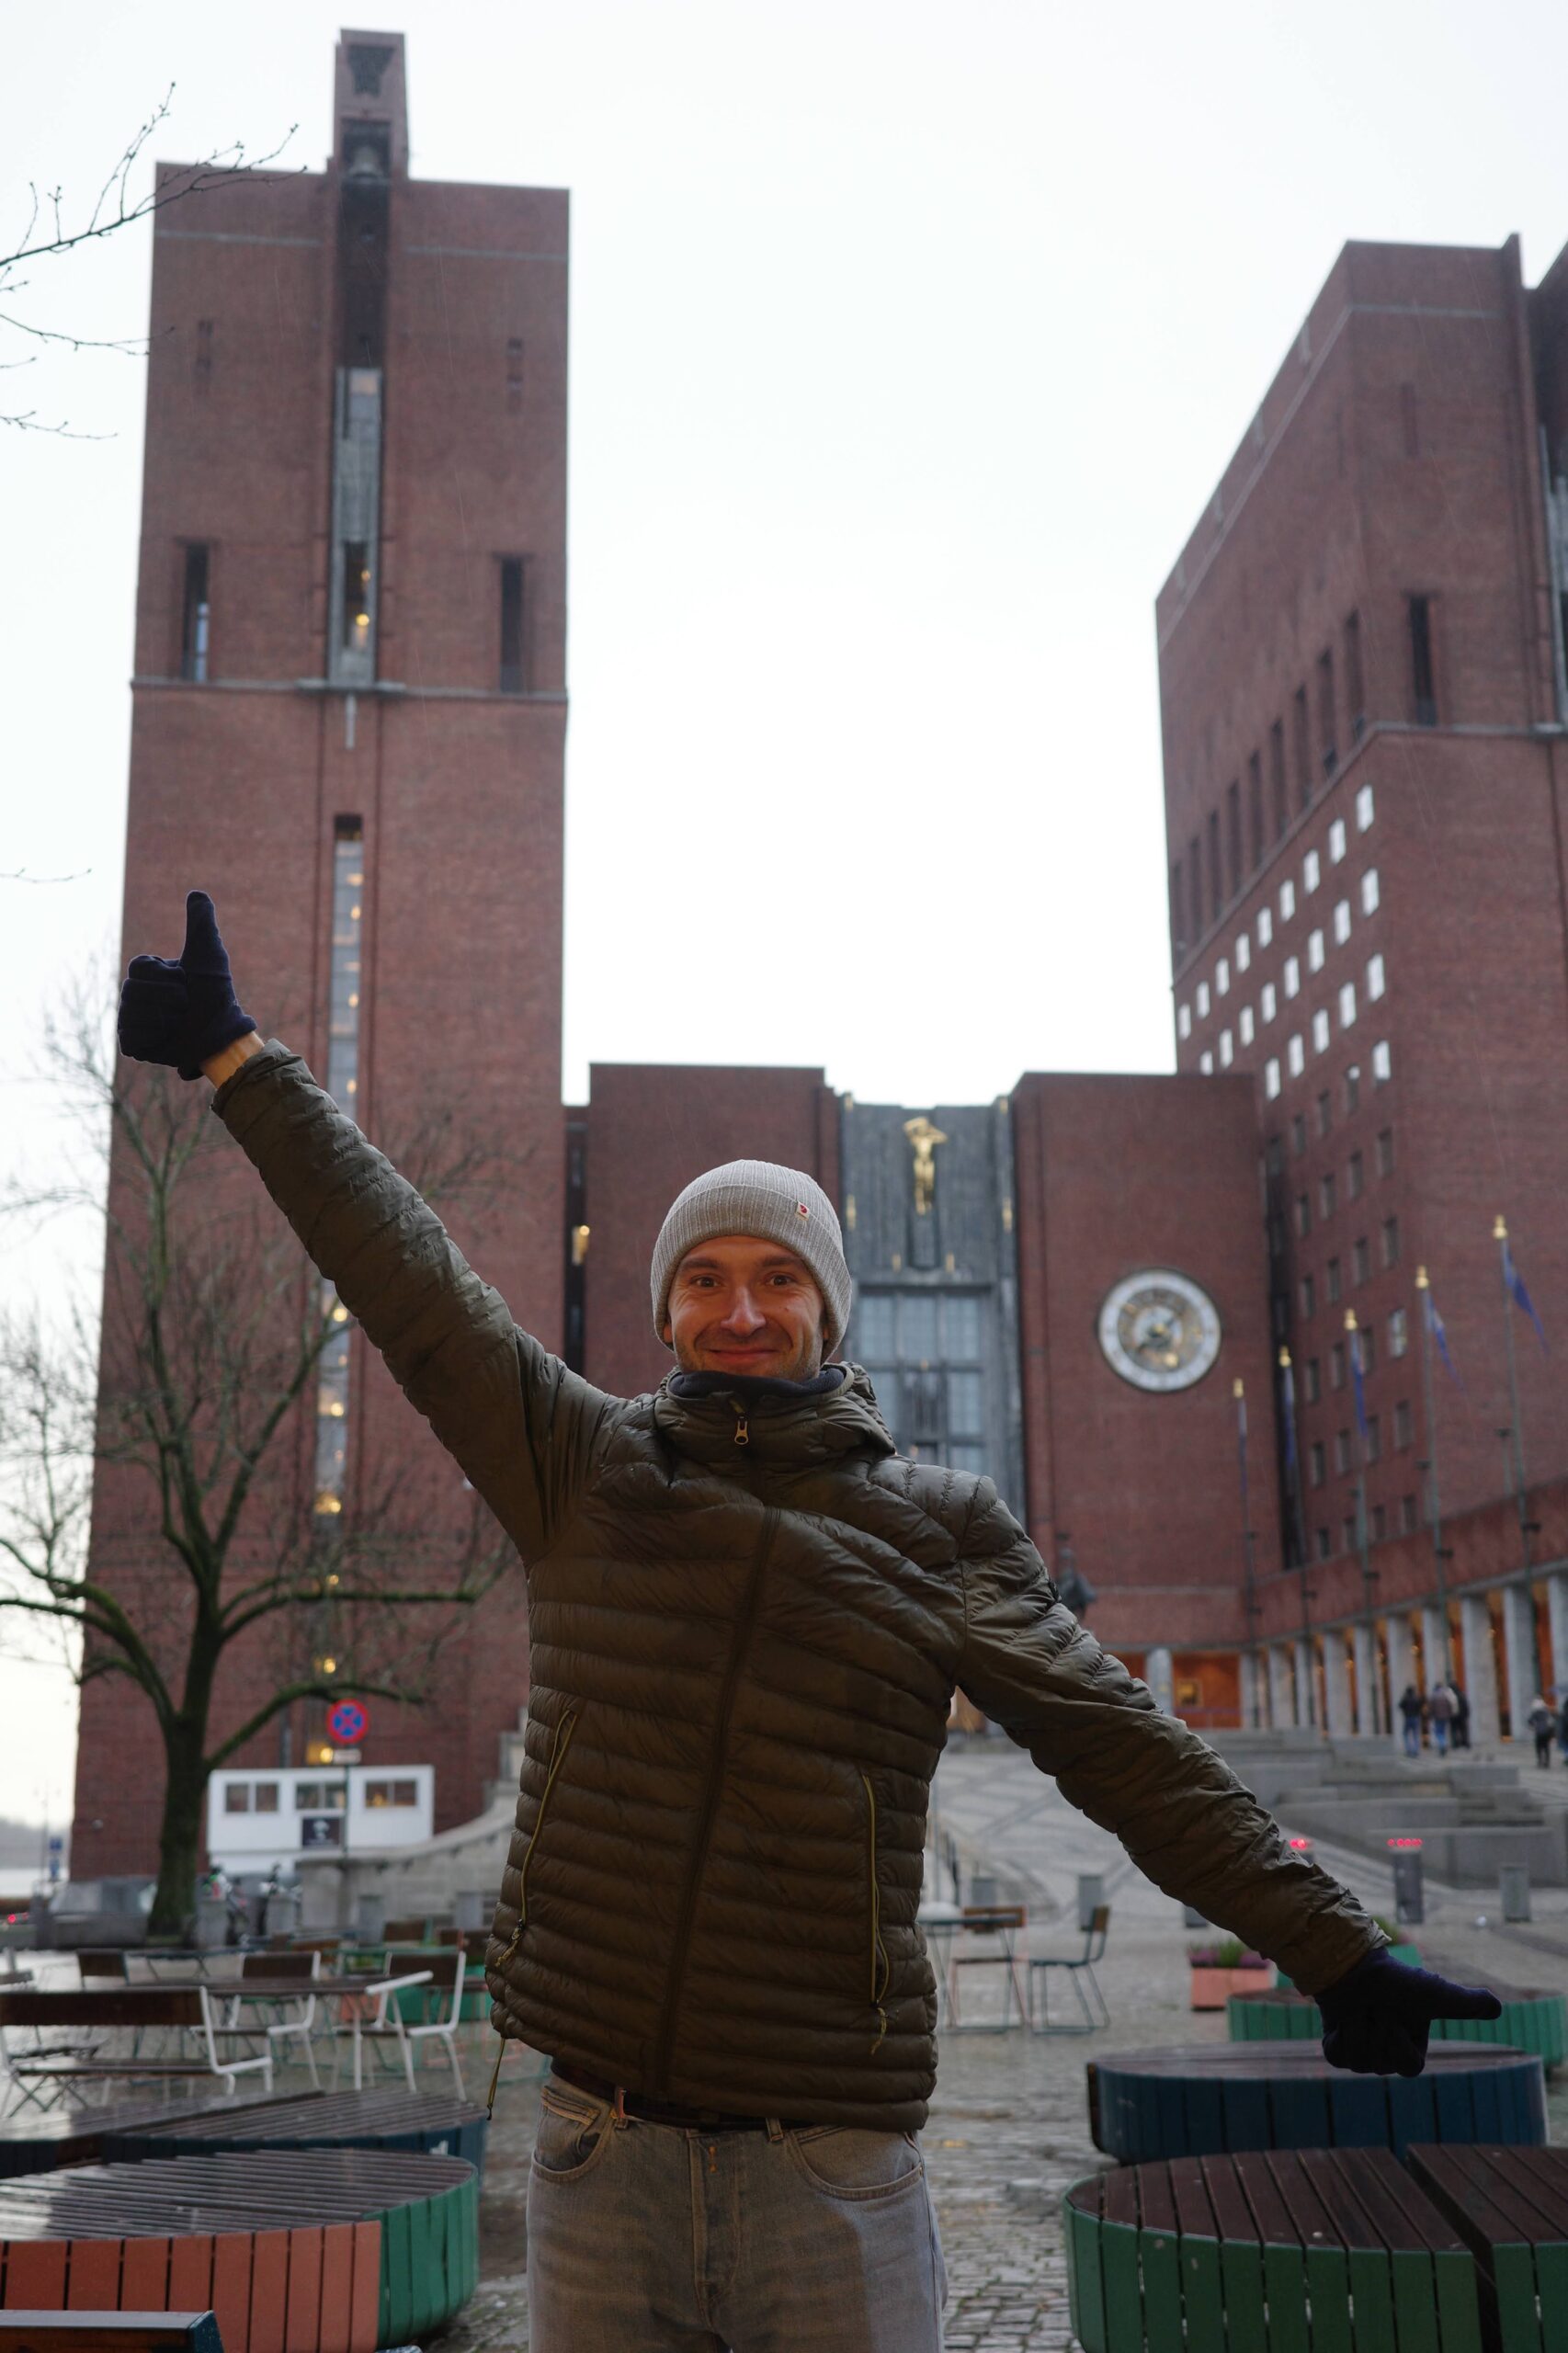
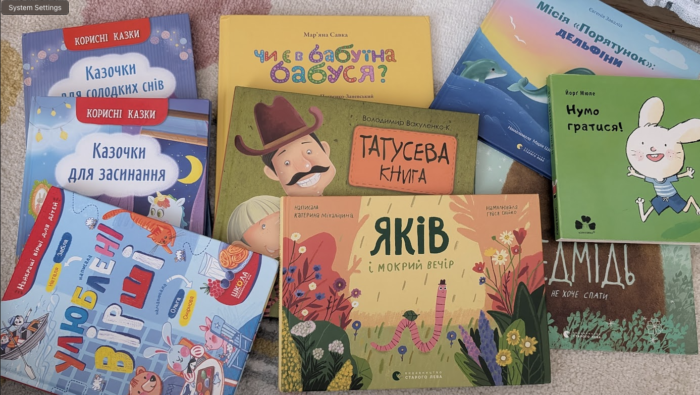
P.S. A few highlight photos from 2025